
It’s time once again for “Loved That Lesson” and I think we are going to have some new bloggers linking up again this month!
During the last month, my fourth grade team has been working to learn more about “close reading”. We have been using the A-MAZE-ING book by Nancy Boyles. If you want a realistic, helpful resource to get you going on close reading–I really recommend it, especially if this is new to you.
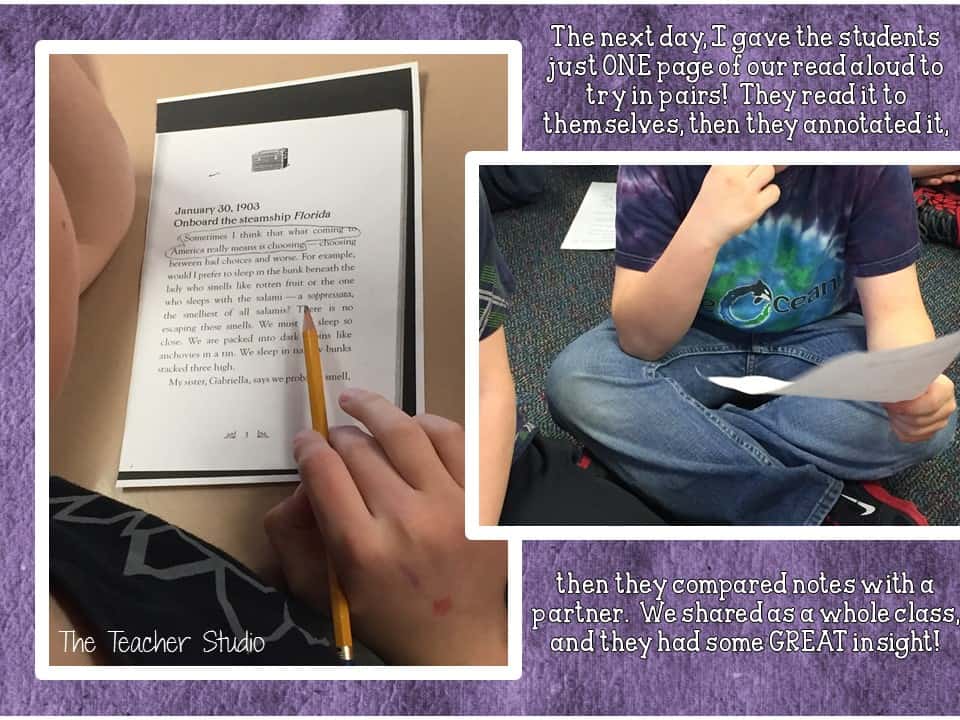
So…what we have all decided to do is to do some practice lessons with our whole class and then gradually work them in to small groups. We started with a text that is a great kick off to our big immigration unit and dug in!
I started off by asking my students to brainstorm a list of what makes us “react” to texts…in other words, what do authors do to really hook us and keep us focused on the story. They came up with a great list with very little prompting! I blogged about this part of the lesson a few days ago–you can read it BY CLICKING HERE.
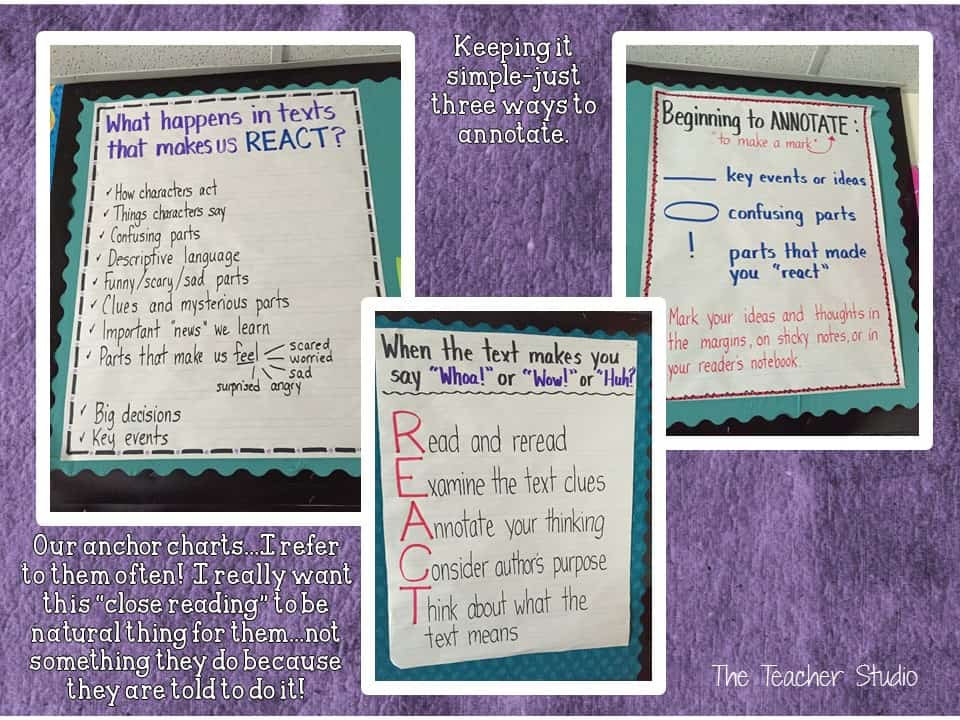
I then talked them them about how, as we get older and read more complicated texts, we have to slow down and really interact with the text. I made up the acronym “REACT” to help us really keep focused on our purpose for close reading. (Disclaimer….there are a lot of products out there for sale to help with “Close Reading”. I’ve also seen recommendations for students to read and reread texts 4, 5, and even 6 times–each time looking for something new. Please–I BEG OF YOU–do not kill reading for your students!). I plan to do close reading lessons sporadically–and they will comprise a very small percentage of my literacy block. These lessons are meant to teach deeper thinking, and hopefully students will start to apply it to their own reading. After only 2 weeks of doing this, I see a difference.
One of the key elements of close reading is the idea of annotating or “noticing” areas in the text that are important, that are confusing, or that make you “react” in a certain way. I decided that these would be my three main areas of focus as we learn to slow down and annotate texts.
So here’s what we did. We took the first few pages of the text and made copies. We broke it into small “chunks” and numbered them so we could reference them easily and tackle the text one chunk at a time. I started by modeling MY thinking and annotations by using my document camera.
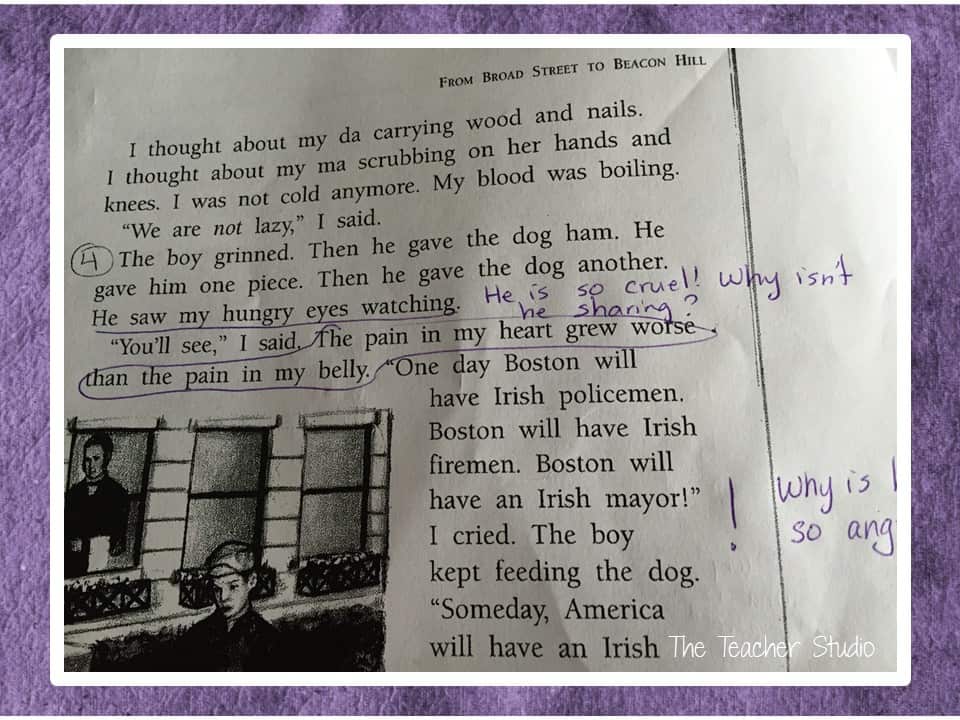
I purposely only did a LITTLE annotating–because I wanted my students to chime in with their own ideas. I took their ideas and added them to my page under the camera–and asked them to do their own annotating on THEIR copies. We moved back and forth between reading sections, annotating, and sharing…and I could see the students really starting to get into it. Because this was new for us, I read the sections to the students first (I won’t do this once we have a better grasp on it…we are practicing annotating, not doing our own reading) and had them go back and reread looking for reactions, confusing parts, and “reactions”.
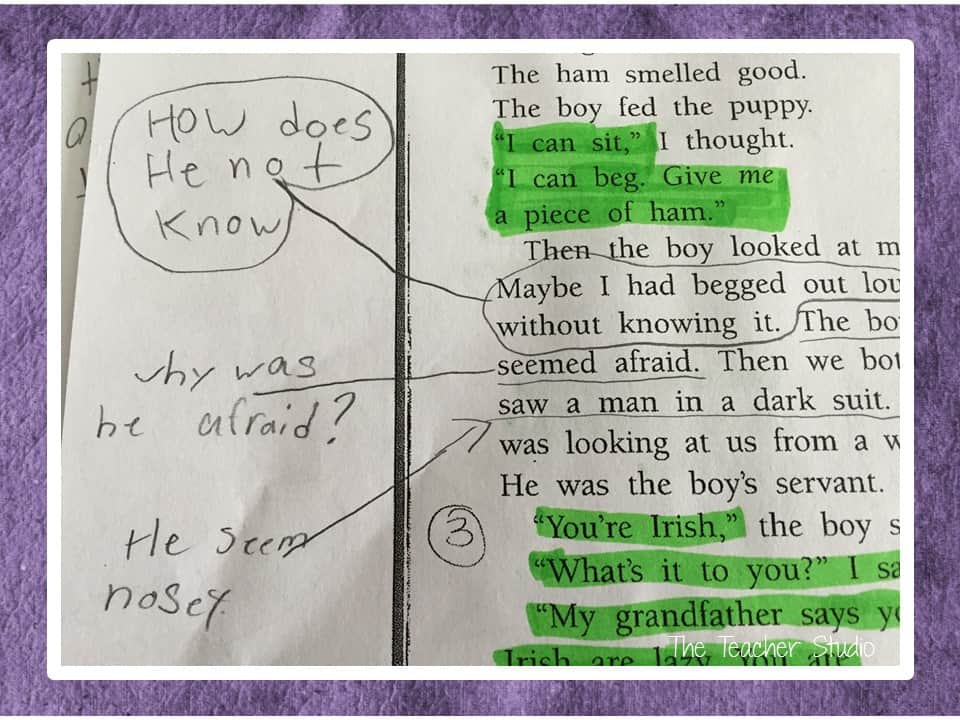 |
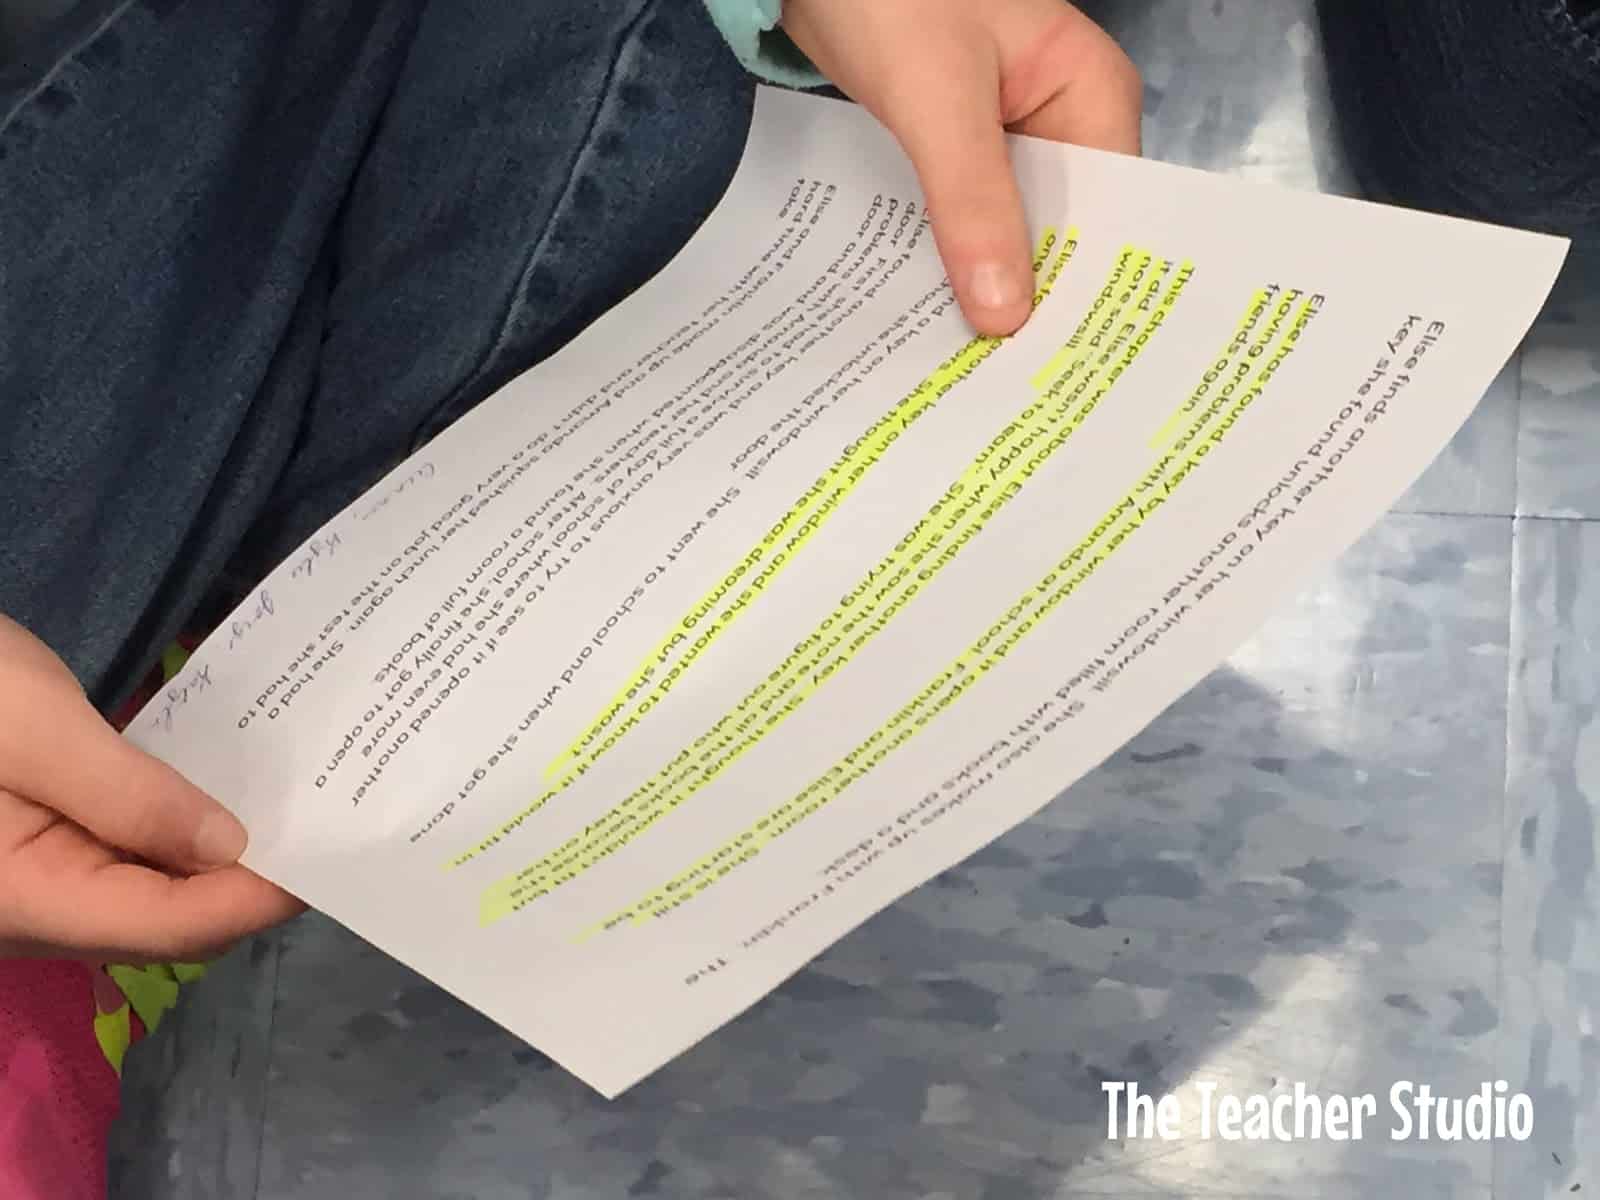
| This student was having a hard time…I had him highlight the dialogue green so he could differentiate when characters were speaking and where the author was simply “telling” us information. It seemed to help. |
We worked ourselves through the six sections and took about 30 minutes on the lesson. I think it was just the right length of time to get them practice without going overboard. The next day I asked them to give it a try again with a much shorter text, just to see if they could remember what we did. They did a great job!
So…we will continue to add our to our “close reading” skills over the next weeks we try it within our historical fiction book clubs. I LOVED this lesson…and I really recommend the book that we were inspired by. Here is a link if you want to read more about it.
So…thanks for stopping by today’s “Loved That Lesson” linky–and I hope you take the time to visit the other linked up posts and leave them some feedback if you like what they have to share!