
We are halfway through our angle unit . . . we’ve worked to build some understanding and are ready to use protractors! Today I actually introduced the protractor–we have been measuring with “nonstandard” angle measurers the last few days. If you haven’t ever made wax paper protractors with your students, you should give it a try…lots of fun! Simply take a square of wax paper…fold it into quarters (90 degree angles), then fold in half again (45 degrees) and then again one more time. Students DO usually come to the conclusion that each section is 22.5 degrees–but that isn’t what is important. We use this protractor to measure in “wedges”–without worrying about degrees–for now. Instead, I want students to learn about measuring how “open” an angle is…and because the waxed paper protractor is relatively opaque, you can set it down on different shapes and students can easily line it up and say how many “wedges” (nonstandard unit) open an angle is.


The custodian only made ONE comment about the masking tape on the carpet–so not too bad! Here is my “Teaching students to use a protractor” tip of the day…if you’ve ever done this, you know how hard it is to get them to remember to put the “dot” of the protractor on the vertex AND to keep one ray of the angle on the “0” line . . . so try this! Whether you tape your floor or create some large angles on construction paper, using these protractors is a GREAT kick off to the much more difficult task of learning to use a “real” protractor.
Have the students get out their protractor and lay a toothpick on it with one end of the toothpick at that center “dot” and the toothpick stretched toward the 0.

I tell them that there will always be one ray of the angle on their protractor–just like this. Then I asked them to put their second toothpick to build a 90 degree angle . . . (sorry for the blurry photo)
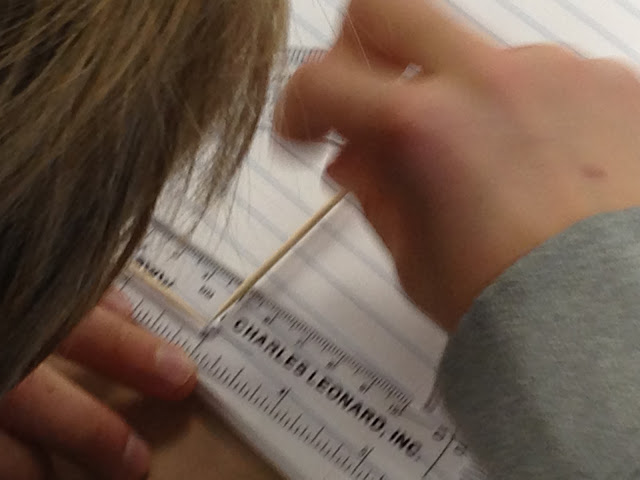
We then built all sorts of angles with our toothpicks–right on the protractor. We reviewed the difference between acute and obtuse and how to use BOTH scales on the protractor to help us estimate–a small angle must be less than 90 degrees so you better be looking at that set of numbers! I am pretty confident that we will be ready to take our protractors and tackle “real” angles tomorrow!
Interested in extending your students learning even more? See if these resources might help you take your instruction even deeper.